

Classic French centerpiece desserts, like the croquembouche, are usually reserved for important occasions, such as weddings or baptisms or communions. But when your favorite hip hop artist, who just happens to adore caramel, invites you to his birthday party, I can think of bringing nothing more appropriate.
The first time I made one of these, I learned that croquembouche meant "crunch in the mouth" since each individual pastry is drenched in hard caramel. This time around I have a new French vocab word to share: pièce montée. Used as a synonym for croquembouche, it translates as "mounted piece". Think pastry architecture, or rather, the deft assemblage of sugar and cream puffs into an impressive, sculpted form.
The first time I made one of these, I learned that croquembouche meant "crunch in the mouth" since each individual pastry is drenched in hard caramel. This time around I have a new French vocab word to share: pièce montée. Used as a synonym for croquembouche, it translates as "mounted piece". Think pastry architecture, or rather, the deft assemblage of sugar and cream puffs into an impressive, sculpted form.
 While a lofty tower of profiteroles is pretty amazing to look at, cutting into one to serve is another challenge entirely. The profiteroles are physically "glued" together with hard candy, making it tough work to gracefully disassemble. Last time, we attacked it rather clumsily with a serrated knife. I've read that others have taken a chisel and hammer to crack the hard surface. YIKES!
This time around, to facilitate sharing as an eat-out-of-hand casual party dessert, I decided to keep the caramel-dipped profiteroles separate (not touching) and flat on a single sheet tray. No sticking together (which, turns out, is pretty hard to unstick)...no montée...just pièce. The height would come, at least I was hoping with fingers crossed, from the fancy sugar work spun on top. I spent a few nights studying sugar techniques in this textbook as preparation, hoping to create something extraordinary.
But when the day came to make this, it rained. That brings me to another vocab word: hygroscopic. Sugar is hygroscopic meaning it will absorb water from the surrounding air. See those beads of liquid on the sugar strands in the photo up above?! It was dissolving faster than I could finish! I decided to cut the decoration short, and instead poured JD's initials with the remaining caramel and sprinkled the finished piece with crystallized lilacs. Not quite the pièce montée I envisioned, but I was told it was delicious all the same.
The May 2010 Daring Bakers’ challenge was hosted by Cat of Little Miss Cupcake. Cat challenged everyone to make a pièce montée, or croquembouche, based on recipes from Peter Kump’s Baking School in Manhattan and Nick Malgieri. Instead of the suggested recipes, I followed closely the instructions in Bo Friberg's The Advanced Professional Pastry Chef with great success. I was particularly proud that my profiteroles did not deflate.
 Vanilla Crème Patissiere
yield: ~3 cups
2 cups (480 ml) whole milk
4 TBS (32 g) cornstarch
1½ cups (200 g) granulated sugar
2 large eggs
4 large egg yolks
4 TBS (60 g) unsalted butter, at room temperature
2 TBS vanilla bean paste
Dissolve cornstarch in ¼ cup of milk. Combine the remaining milk with the sugar in a saucepan; bring to boil; remove from heat.
Beat the whole egg, then the yolks into the cornstarch mixture. Pour ⅓ of boiling milk into the egg mixture, whisking constantly so that the eggs do not begin to cook.
Return the remaining milk to boil. Pour in the hot egg mixture in a stream, continuing whisking.
Continue whisking (this is important – you do not want the eggs to solidify/cook) until the cream thickens and comes to a boil. Remove from heat and beat in the butter and vanilla.
Pour cream into a bowl. Press plastic wrap firmly against the surface. Chill immediately and until ready to use.
 Pâte à Choux
yield: ~60 (1-inch) profiteroles
2 oz (57.5 g) cake flour
2¾ oz (77.5 g) bread flour
1 cup (240 ml) water
6 TBS (85g) unsalted butter, cut into pieces
¼ tsp (1.25g) salt
5 large eggs (1 cup), at room temperature
Sift the flours together on a sheet of parchment paper and reserve.
In a heavy-bottomed medium saucepan, bring the water, butter, and salt to a full rolling boil so that the butter droplets are dispersed throughout the liquid. Form the ends of the parchment into a funnel/cone shape; use this to pour the flour into the liquid while stirring constantly with a wooden spoon. Add the flour as fast as it can be absorbed, but avoid adding it once, which may create lumps. Continue cooking, stirring vigorously until the mixture forms a smooth, dry mass and pulls away from the sides of the pan, about 2-3 minutes.
Transfer the dough into the bowl of a mixer fitted with a paddle attachment (you can also continue by hand). Let the dough cool while mixing on low for a couple of minutes so that the eggs do not scramble.
Once the dough has slightly cooled, begin to add the eggs one at a time. The dough will separate in the beginning, but it should come back together after the 3rd or 4th egg.
While the dough is still slightly warm, transfer it to a piping bag and pipe onto parchment lined baking sheets into shapes slightly larger than a cherry. Use a finger dipped in warm water to pat down any peaks.
Bake at 425° F until fully puffed and starting to show some color, about 10 minutes. Reduce the heat to 375° F and bake about 10-12 minutes longer or until golden brown and dry. Turn off oven and leave door open with puffs remaining on the oven racks puffs. Allow them to cool completely to room temperature before removing. This should encourage steam to escape and prevent the puffs from deflating.
Once cool, make a small hole in the bottom of each profiterole. Using a pastry bag fitted with a No. 2 tip, fill each with the pastry cream.
 Caramelized Sugar
yield: 2¼ cups
1 cup (240 ml) water
2 lbs (910 g) granulated sugar
¼ cup (60 ml) light corn syrup
Fill a bowl large enough to hold the pan used for cooking the sugar with enough cold water to reach halfway up the sides of the pan. Set this aside.
In a medium saucepan, combine 1 cup water and sugar and set over medium-high heat. Stir until the sugar dissolves and use a brush dipped in water to wash down any sugar crystals that stick to the side of the pan. Bring to a rolling boil, add the corn syrup, then lower the heat to medium. Do not stir once the sugar starts boiling. Instead, continue brushing down the sides of the pan with water as needed until the sugar reaches 280° F. Keep boiling until the syrup is amber in color. Quickly remove the pan from heat and dunk the bottom in the bowl of cold water to stop the cooking process.
Using 2 forks, dip the tops and sides of each cream-filled puff into the caramel, and arrange puffs as desired.
To make a spun-sugar web to decorate the croquembouche:
Cut the looped ends of a wire whisk with wire cutters, or use two forks held side by side, and dip the ends into caramel. Wave the caramel back and forth over the croquembouche, allowing the strands to fall in long, thin threads around it. Wrap any stray strands up and around the croquembouche.
Serve within 2 hours.
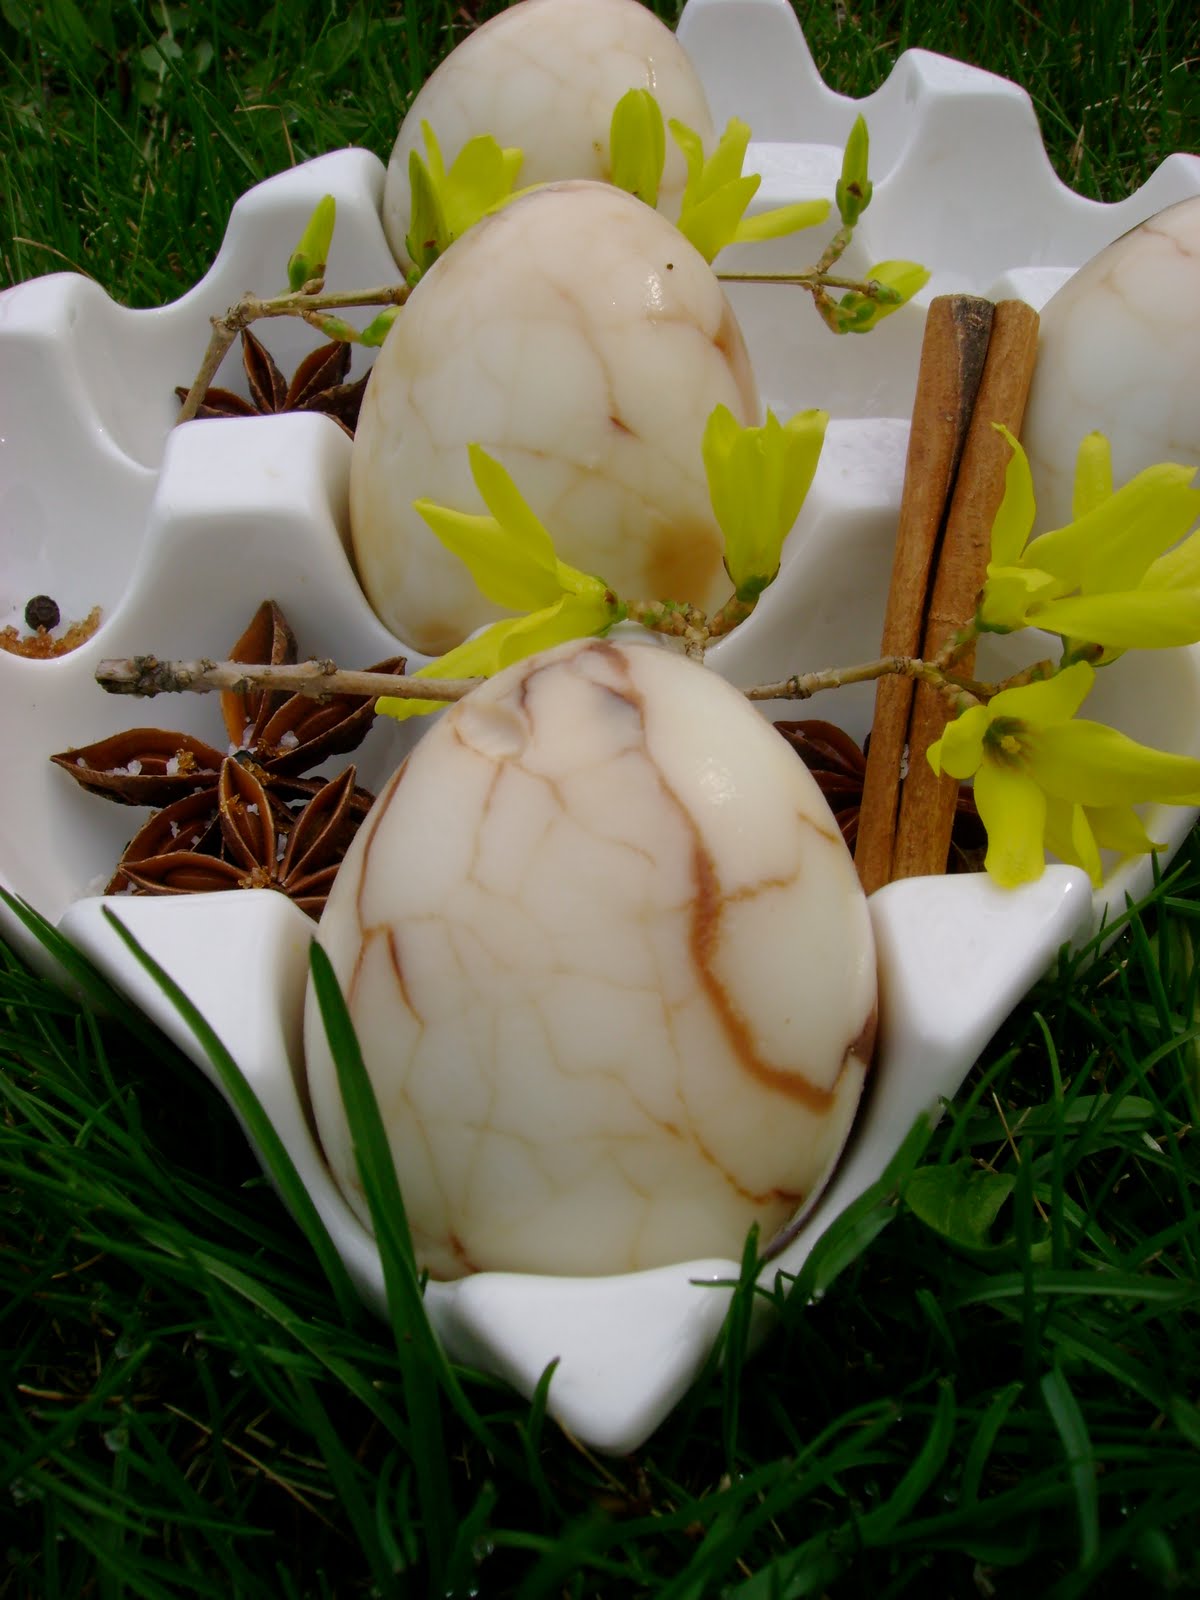
 Chinese Tea Eggs
 Last week, I cooked up
  Roasted Salsa Verde
 Budín Azteca (stacked tortilla pie)